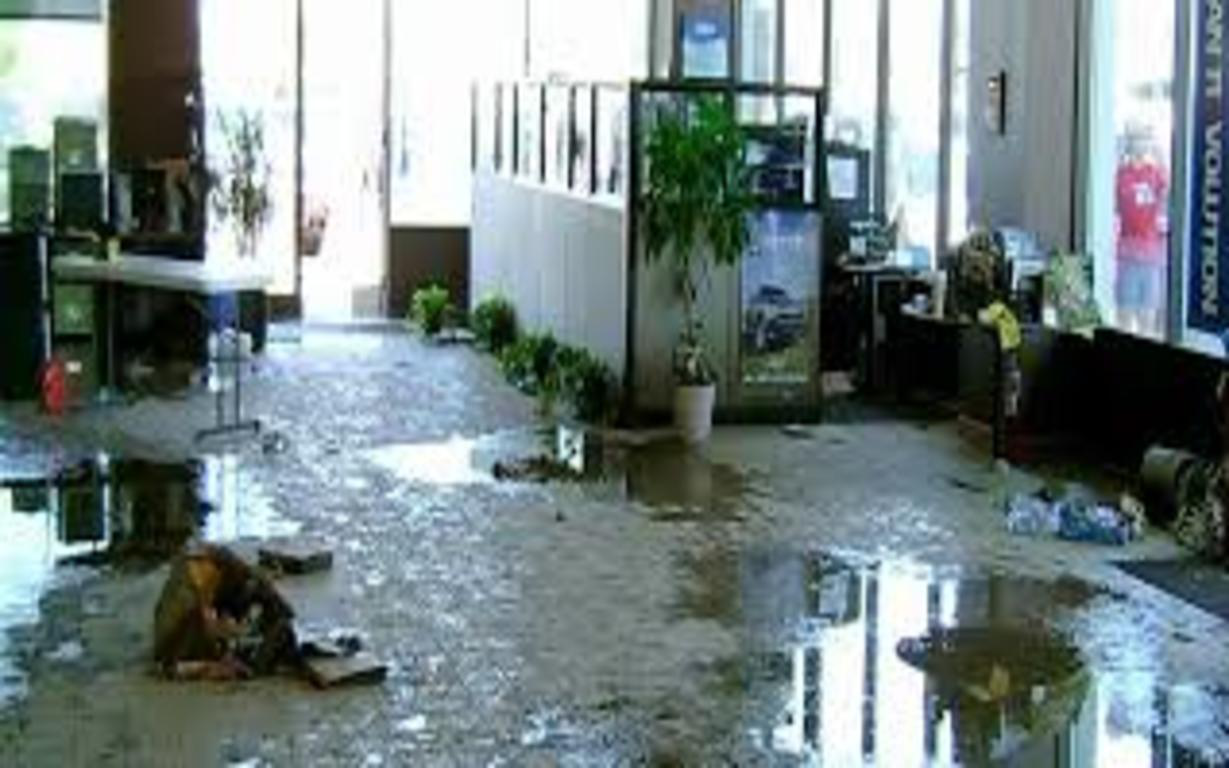
Heavy rains, stopped storm drains, busted pipes and backed up drains can all cause extensive water damage to a home and property. But, it is very rarely the floor that is affected alone. Water damage can climb the walls and it takes special skills and a fast response to prevent structural damage and mold colonies from causing serious damage.
Prorestorewaterdamagerestoration provide drywall repair washington DC service including drywall installation, drywall patching and house painting.
How Water Damage Affects Your Walls
You will have a better chance of delivering an effective solution to your water damage situation if you understand a little bit about the dynamics of water saturation. Flood waters will typically spread over an area of the floor saturating all beneath them. But, due to the wicking action of porous materials, areas above the surface of water may also become damaged.
How high the capillary action of porous materials will take the water all depends on the porosity of the materials in question. For example, drywall is made of very porous materials and can readily absorb water. It has two sidings of thick cardboard construction sandwiching a gypsum center. These materials can pull water as high as 30” (76.2cm) up the wall.
Of course, this absorption will be present on both sides of the drywall panel but the inside will sometimes have more because evaporation will take longer on the inside. Sometimes the moisture may be there but leave no visible marks. It can take some experience and testing to be absolutely sure that a drywall has been dried thoroughly.
But, then again, over compensating for the potential margin of error can certainly work in this situation. If you feel you have the situation in your hands as well as the experience and equipment to dry your home, here is what you need to know.
Step 1: Stop the Flooding
The first thing to do will be to stem the flood tides and remove all the water you can from the area. Begin by locating the source of the flood and stopping the flow of water. Sometimes you may need to call in a professional to dam up backed up storm drains or busted pipes. Use buckets, bunds, mops and rags to remove all water that you can.
Step 2: Ventilation
The faster the air can move through the affected area the faster the evaporation process will remove water from the walls. Open up all the windows and doors so that the air can flow freely. Use fans to move the air across the surface of the wet areas of the wall.
Step 3: Remove Materials
If you haven’t already, remove the moldings, baseboards and even the wall paper from the walls. This will accelerate the drying process by allowing the moving air to access the damp surface of the wall. Removing the wall paper can be tough, but it is important because it will “seal” the water in the wall and increase the time the wall takes to dry.
Step 4: Be Patient
It can take drywall a very long time to dry completely and rushing the projects can lead to much regret later. Professionals have a wide range of tools and techniques to ensure the wall has dried completely. You can purchase a moisture meter at your local supply store if you have a doubt.
Final Notes on Drying Drywall after Water Damage
Time is of the essence in making sure the water is not given a full opportunity to saturate the walls. So work quickly when addressing drywall water damage. If you doubt you have the skills and experience to get this job right the first time, it may be best to call in the Water Damage Restoration Professionals.

