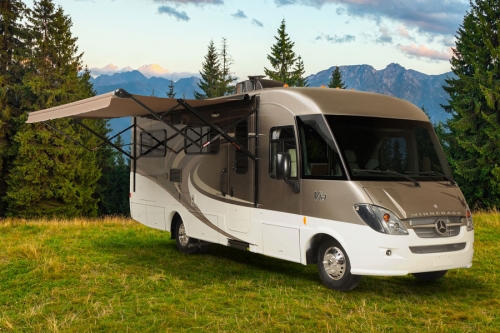
If you are planning to buy an RV from an RV broker, always inspect the vehicle. While no trustworthy RV broker will sell you a lemon, it pays to be doubly careful when you are investing in something as expensive as a motor home. Buying a well-maintained used RV is a good option when you are working with a limited budget. However, chances are, there will be some minor ‘issues’ that you can easily fix or upgrade. One such thing is a burst water supply line. While it is shocking to see water running out onto the floor as soon as you switch on the water pump in your ‘new’ vehicle, you can easily resolve the crisis by following the steps given below:
Choose the Right Water Line
A burst water line means you will have to replace the existing water line with a new one. You will find both copper and plastic lines in the market. But copper is hardly used in modern RVs; they are seen in older rigs dating back to the 60’s or 70’s. Plastic is the preferred material for water lines in today’s motor homes.
Select the Tools for the Job
To repair the water line in your vehicle, you must have a tool that can easily cut through the linked polyethylene or PEX pipe. While a regular utility knife will suffice, a better choice would be a tubing cutter designed for PEX. Not only does this cheap tool provide a clean, even edge, but it is necessary for a leak-proof connection. Alternatively, you can use a PVC pipe cutter as well.
Install the New Pipe
Start by switching off the water supply and using the pipe cutter to remove the leaky section. Carefully trim the ends of both the new and old pipes, so they are straight and smooth. Remember to leave sufficient length so that the pipes fit together easily without too much crimping or bending.
Calculate the length of the PEX pipe required from the measurement line to the end of the fitting. Make sure you mark that length on the pipe using a pencil.
Now, you must slowly insert the PEX pipe into one end of the new pipe. Give the pipe a firm push into the coupling, so it reaches all the way to the pencil marking. Repeat the process for each corner of the replacement pipe.
Take one end of the old pipe and insert the PEX pipe. The coupling on the replacement pipe must create a snug connection with one end of the old pipe. Next, you need to firmly push the remainder of the replacement pipe coupling onto the coupling of the old pipe. The resulting connection needs to be snug and tight so that the repaired portion of the water line does not have any crimps.
Complete the Repairs
Once you’re done repairing the burst section of your RV water line, it’s time to turn on the water. Thoroughly check the entire system for any sign of leaks or strained plumbing. Slowly ease the repaired portion of the pipe back up under the insulation. Wait for a couple of hours so that the insulation gets enough time to dry. Afterward, seal the opening in the insulation using a duct tape.
When you detect something wrong with the plumbing in your home, you can quickly call a fixer. But RV-ers find it difficult to locate a plumber who makes RV house calls. So, if you are unsure about your repair skills, it might be a good idea to thoroughly inspect a vehicle before you purchase it from an RV broker. Test every aspect of the motor home, so you do not run into any trouble later.

