

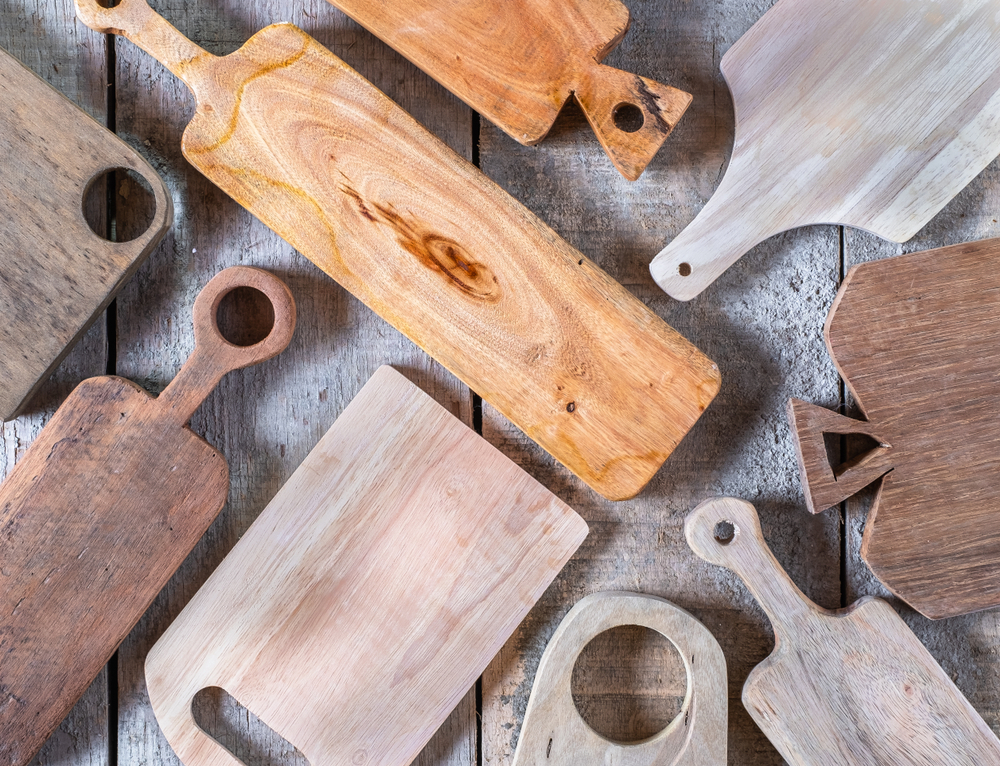
Chopping boards are quintessential when it comes to cooking. Many a time, it is the pre-preparation of food that takes time as compared to cooking. When you consider the basic necessary kitchen accessory, you cannot do away with the chopping board. Although plastic boards are a new fashion, yet most people prefer the wooden boards, as they can be stored, washed, cleaned, and customized and they do not have any food/ vegetable juice-related reaction in certain cases like the plastic boards. Nowadays, handmade chopping boards are trending, and if you too are a fan of this, you will have umpteen options to explore. And if you are a DIY person, this blog will help you make a handmade chopping board at home.
Steps to make handmade chopping board:
- Start with selecting the right material – You can make a chopping board with different materials, but here we are using wood. It is durable, and if you buy a good quality wooden board, it will last longer, be free from microbial activity, and hence safe for you.
- Flatten the board – Once you have selected the right kind of board, your next move should be to flatten the board. You should choose the board’s desired size and then place it on a flat surface to check if it is leveled or not. If you miss this step, then you would later face the problem while cutting because the board would be imbalanced. There should not be any gap within the wooden planks and if there is, you can arrange a few additional slats of wood to make the board more durable.
- Smoothen out the surface – The next thing you need to do is run the board through the planer to even out the surface. Your objective should be to have an even surface; the board’s thickness depends on your choice.

- Drill a hole – You need to provide a space to hold the board. The best and easy way is to drill a hole through it. You can tie a rope through the hole to hang it. All you need is a simple drilling machine for this.
- Sanding – Add some gloss and shine to the wooden handmade chopping board by sanding it. After using the planner, the board should be smooth enough, but with 150 or 220 grit paper, you can give the board the right finishing. This makes the surface of the board smooth as the rough edges of the board can easily be smoothened with the sandpaper.
- Round off the edge – While the handmade cutting board is good to use, you also need to take care of the edges by rounding it. Remove any sharp points to make this chopping board easy to use.
- Raise the grain – It means that you allow the minute grains of the board to stand so that you can remove any sharpness or unevenness on the board’s surface. Remove it by using 220 grit paper and then wiping it off with a damp towel. You can also make use of denatured alcohol for this work.
- Finish it off with mineral oil – Your next move should be to add a layer of food oil or mineral oil to give your chopping board a market like finishing. Pour in a good amount of food oil or mineral oil on the board and allow it to soak the oil. Once it is completely absorbed, you should leave it overnight to dry the surface.
Conclusion
If you wish to add some message or do some engravings, you can do it before sanding so that all the grains could be removed, and you have a smooth handmade chopping board with you can now experiment with the different types of wooden boards in your kitchen. Generally, the square and the rectangular cut-outs work the best for all your kitchen-related chopping and associated activities. For more detailed information about Counter Top Wraps visit our website.