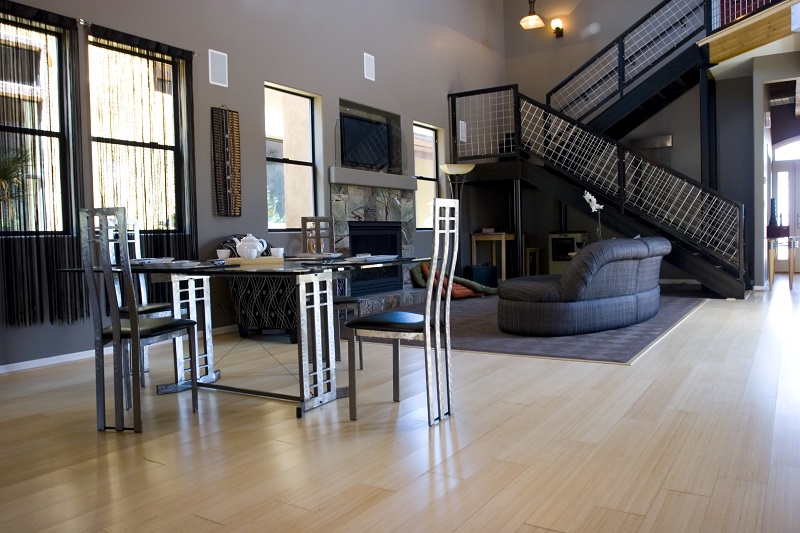
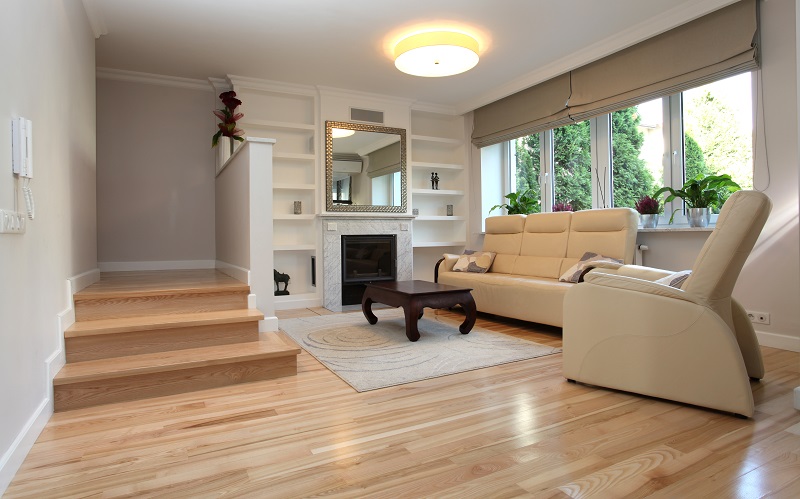
Installation of timber flooring in the house is gaining popularity with each passing day. Apart from its easy installation process, these floors create an aesthetically pleasing house interior. The best part is that timber floors to install in a house by the DIY process.

Timber Flooring
There are multiple methods used to install hardwood flooring. But the most preferable one is the floating floor system. The popularity behind this system is because of its ability to eliminate moisture from the floor. Also, the floating floor system works in both laminate as well as hardwood floorboards.
A Guide to installing of Timber Flooring:
Here is a short and simple guide for you to help you with the steps that are to involve in the installation process of timber flooring over concrete:
Decide the installation method you wish to follow:
The initial step of the installation is deciding the method you want to follow. These methods to select to vary depending on factors . Like the width, thickness, and construction of the floorboard product and the place where to install. Depending on the kind of flooring, you must be determining an appropriate and the best suitable method for the flooring that you select.

Timber Flooring
Ensure to clear the concrete surface:
Prior installing the timber flooring over concrete surface ensures to clear the surface area of the concrete. Vacuum the entire area to remove any debris or standing water. Then allow it to dry completely. You can set up a dehumidifier in the middle of the slab. Engage it to accelerate and enhance the drying process.
Putting in a moisture barrier is vital:
You have to necessarily put in a moisture barrier over your concrete subfloor to protect it from moisture problems. It mostly comes in a rolled format to unroll over the floor. You must install it in such a way that there are no gaps behind and the entire floor to cover properly.
Give time for acclimation:
Prior installation moves the packages of floorboards into the room where they need to install and let them sit there for a few days, with the flaps of the cartons open. This will allow the moisture content in the packages to adjust to the conditions of the room. Timber flooring needs some amount of time to acclimate to the room’s climate.
The process of Installation:
- A layer of plastic sheeting is spread over the floor and after that with a sheet of roofing felt.
- Then you suppose to lay down sheets of plywood to cover the slab which is then followed by a second layer of plywood, perpendicular to the earlier layer.
- Dry fit all the layers in a straight row of floorboards along a wall with their tongues facing the wall. Apply adhesives and fix the layer of timber flooring to cut according to your need to fit at the end of each row.
While you are installing the timber floor precisely focus on the last touch. The finishing touches up and detailing can entirely make or break the look. Follow the installation guide and check for contours required to cut and fit. When everything is to do and dust, remove the spacers and attach trim and moldings for the final effect. Also, you must remove all the wedges from the outsides of the room and install baseboards above the gaps.
These are the basic steps for timber flooring installation which will make your burden less and give a new aesthetic look.
